Share documents with a group of users
Last updated: 20 January 2025Use case
A group of registered users can see specific documents that public visitors or other users can't see. For example, you might be a teacher that teaches more than one class, you want your logged-in students in each class to be able to see the documents for their class only.
Solution
Create a group
- Navigate to Documents > Groups > New
- Create a user group, in our example we'll name it Class 1
- Assign users to the group

- Click Save
Add a Documents block
- Add a DOCman flat list block on a post or page of your choice

- Click Publish/Update
Create a category
- Navigate to Documents > Categories
- Click New
- Set the title to Documents for Class 1
- Under the Permission tab set groups:
- Class 1 in Documents View
- Class 1 in Documents Download
- Class 1 in Categories View
Tip: Alternatively, and instead of creating a group, you may also assign individual users to each one of these actions. This will have the exact same result without the need of creating a group. You just need to make sure that each user is assigned the same three actions above

- Click Save
Use a hierarchical list instead of a flat list for documents listing (optional)
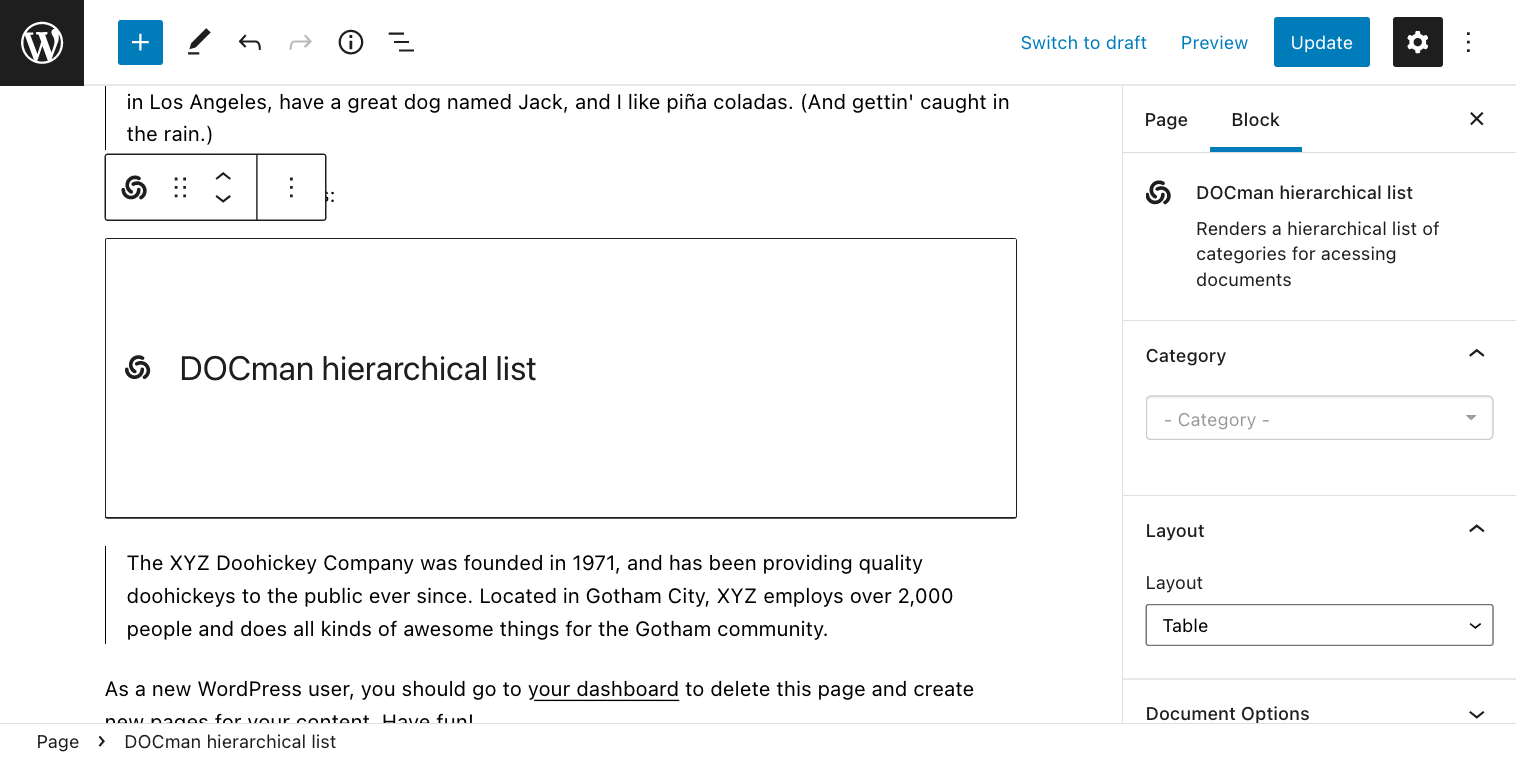
Instead of using a flat list of documents, you may also achieve the same result by using a hierarchical list block which shows the category structure for navigation. For this, and instead of following the instructions from step 2, you may do as follows:
- Add a DOCman hierarchical list block on a post or page of your choice

- Click Publish/Update
Result
Documents that get added in the Documents for Class 1 category will only be visible by users belonging to the Class 1 group while accessing the Documents block, simply complete these steps for each class of students.
Learn more about sharing documents with individual users.