Getting started with DOCman
Last updated: 03 June 2024Installation
- Download DOCman from our Support Center
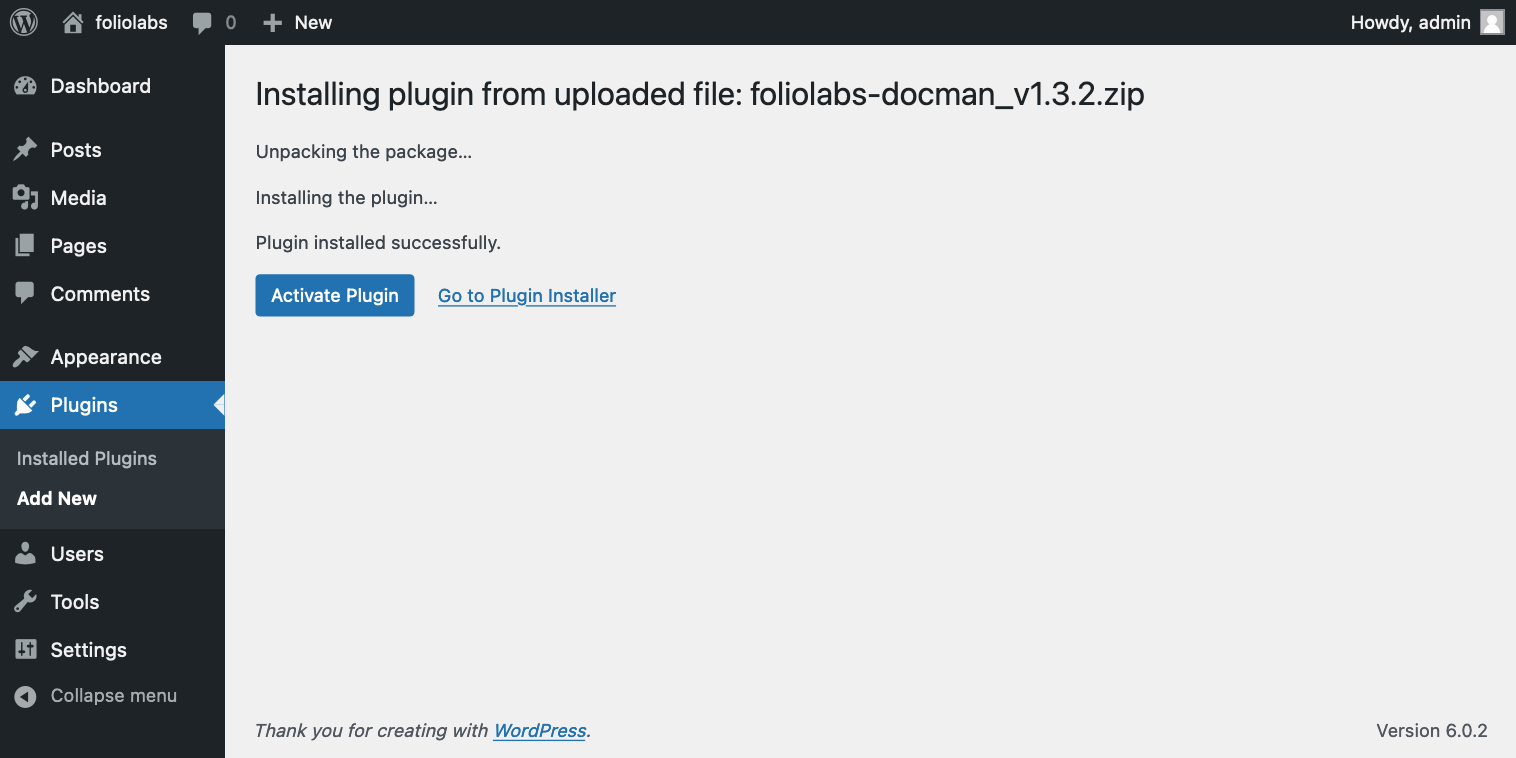
- Navigate to Plugins > Add New
- Click the Upload Plugin button
- Click Choose file to select the downloaded DOCman package and click Install Now to start the installation

- Click Activate Plugin once the installation is complete

You need to ensure that PHP has writing capabilities on your site's filesystem. DOCman creates and store its files on a folder named foliolabs-files which is located on the wp-content folder of your Wordpress site.
Import data (optional): Need to import DOCman data from another installation? See Migrating DOCman to a different site.
Let's get started
Now that you have DOCman installed, let’s start using it.
1. Create your first category
- Navigate to DOCman > Categories
- Click New in the toolbar
- Enter a title & description
- Click Save

Learn more about categorising documents.
2. Create a page
- Navigate to Pages > Add New
- Enter a title
- Add Hierarchical list block

Learn more about DOCman's various available blocks.
- Click Publish
- Once your page is published click on the Hierarchical list block to view and edit the block's settings

3. Upload your first file
DOCman turns a physical file into a virtual document. A document allows you to add additional metadata (title, description, thumbnail, icon, etc...).
- Visit the frontend of your website and log in, when logged as the admin user you'll automatically have the required upload permissions
Learn more about upload permissions.
- Navigate to the DOCman page that we set up in step 2
- Click Add document in the DOCman toolbar to add a single document, or click Upload to add multiple documents

- Enter the document's details
- Upload (or drag and drop) the file you want to associate with this document. Alternatively, you can enter a file URL instead
Learn more about linking to cloud files.
- Click Save

What's the difference between a file and a document in DOCman?
In DOCman a physical file is turned into a virtual document, this allows you to define additional metadata for the file. For instance, you can add a: title, description, thumbnail and icon to the document, as well as set access and action permissions, etc.
Learn more about adding documents.
4. Download your first file
- Open your website and navigate to the page we created in step 2
- Navigate to the category that we set up in step 1
- Click on the document's name and the file will start to download

Next steps
Congrats! You’ve now taken your first step in using DOCman. There are lots of other resources to help you along the way.
- Link to documents, you definitely want to insert a link to a document in a page and/or post.
- Set up permissions, by configuring permissions you can create any kind of workflow.