File thumbnails - Automated thumbnail generation
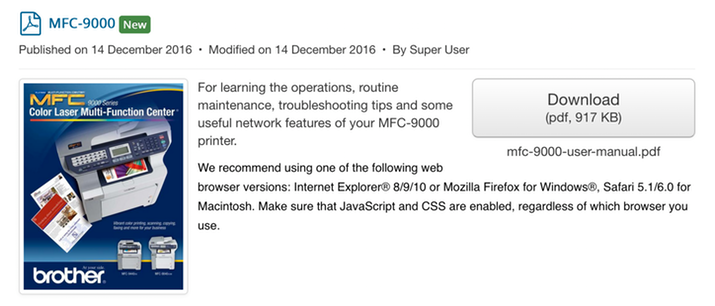
Last updated: 26 March 2025With Joomlatools Connect every uploaded file will get a beautiful thumbnail. Thumbnail generation is supported in DOCman, FILEman, and TEXTman.
Try it out! You can try it out with your own files in our dashboard.
We support over 20 different file types:
- Adobe Portable Document Format (PDF)
- Image files (JPEG, PNG, GIF, TIFF, BMP & RAW)
- Microsoft Office (DOC, DOCX, XLS, XLSX, PPT & PPTX)
- Open Document Format (ODT, ODS, ODP, ODG & ODC)
- Text files (TXT, RTF, TSV & TAB)
- Video files (OGV, FLV, MP4, MOV, AVI, WEBM, MPG, MPEG & MKV)
Thumbnails will be generated on our servers and automatically copied to your website. It will only take a few seconds.
Generating thumbnails for existing documents
Since DOCman 3.1 you can now also generate thumbnails for existing documents with Joomlatools Connect. You can trigger the generation of a document thumbnail manually through the administrator.
1. Manually generate a thumbnail for a single document
- Log in to your site's Administrator interface
- Go to Components > DOCman > Documents
- Click on and open the document you want to generate a thumbnail for
- In the Featured image panel click on the Generate automatically button
- Click the Save button
- Joomlatools Connect will run and display a message informing you that the Document scan is running for thumbnail generation and content indexing:

- Once the document thumbnail has been generated and the document has been indexed the Featured Image and Index panels will be updated.:

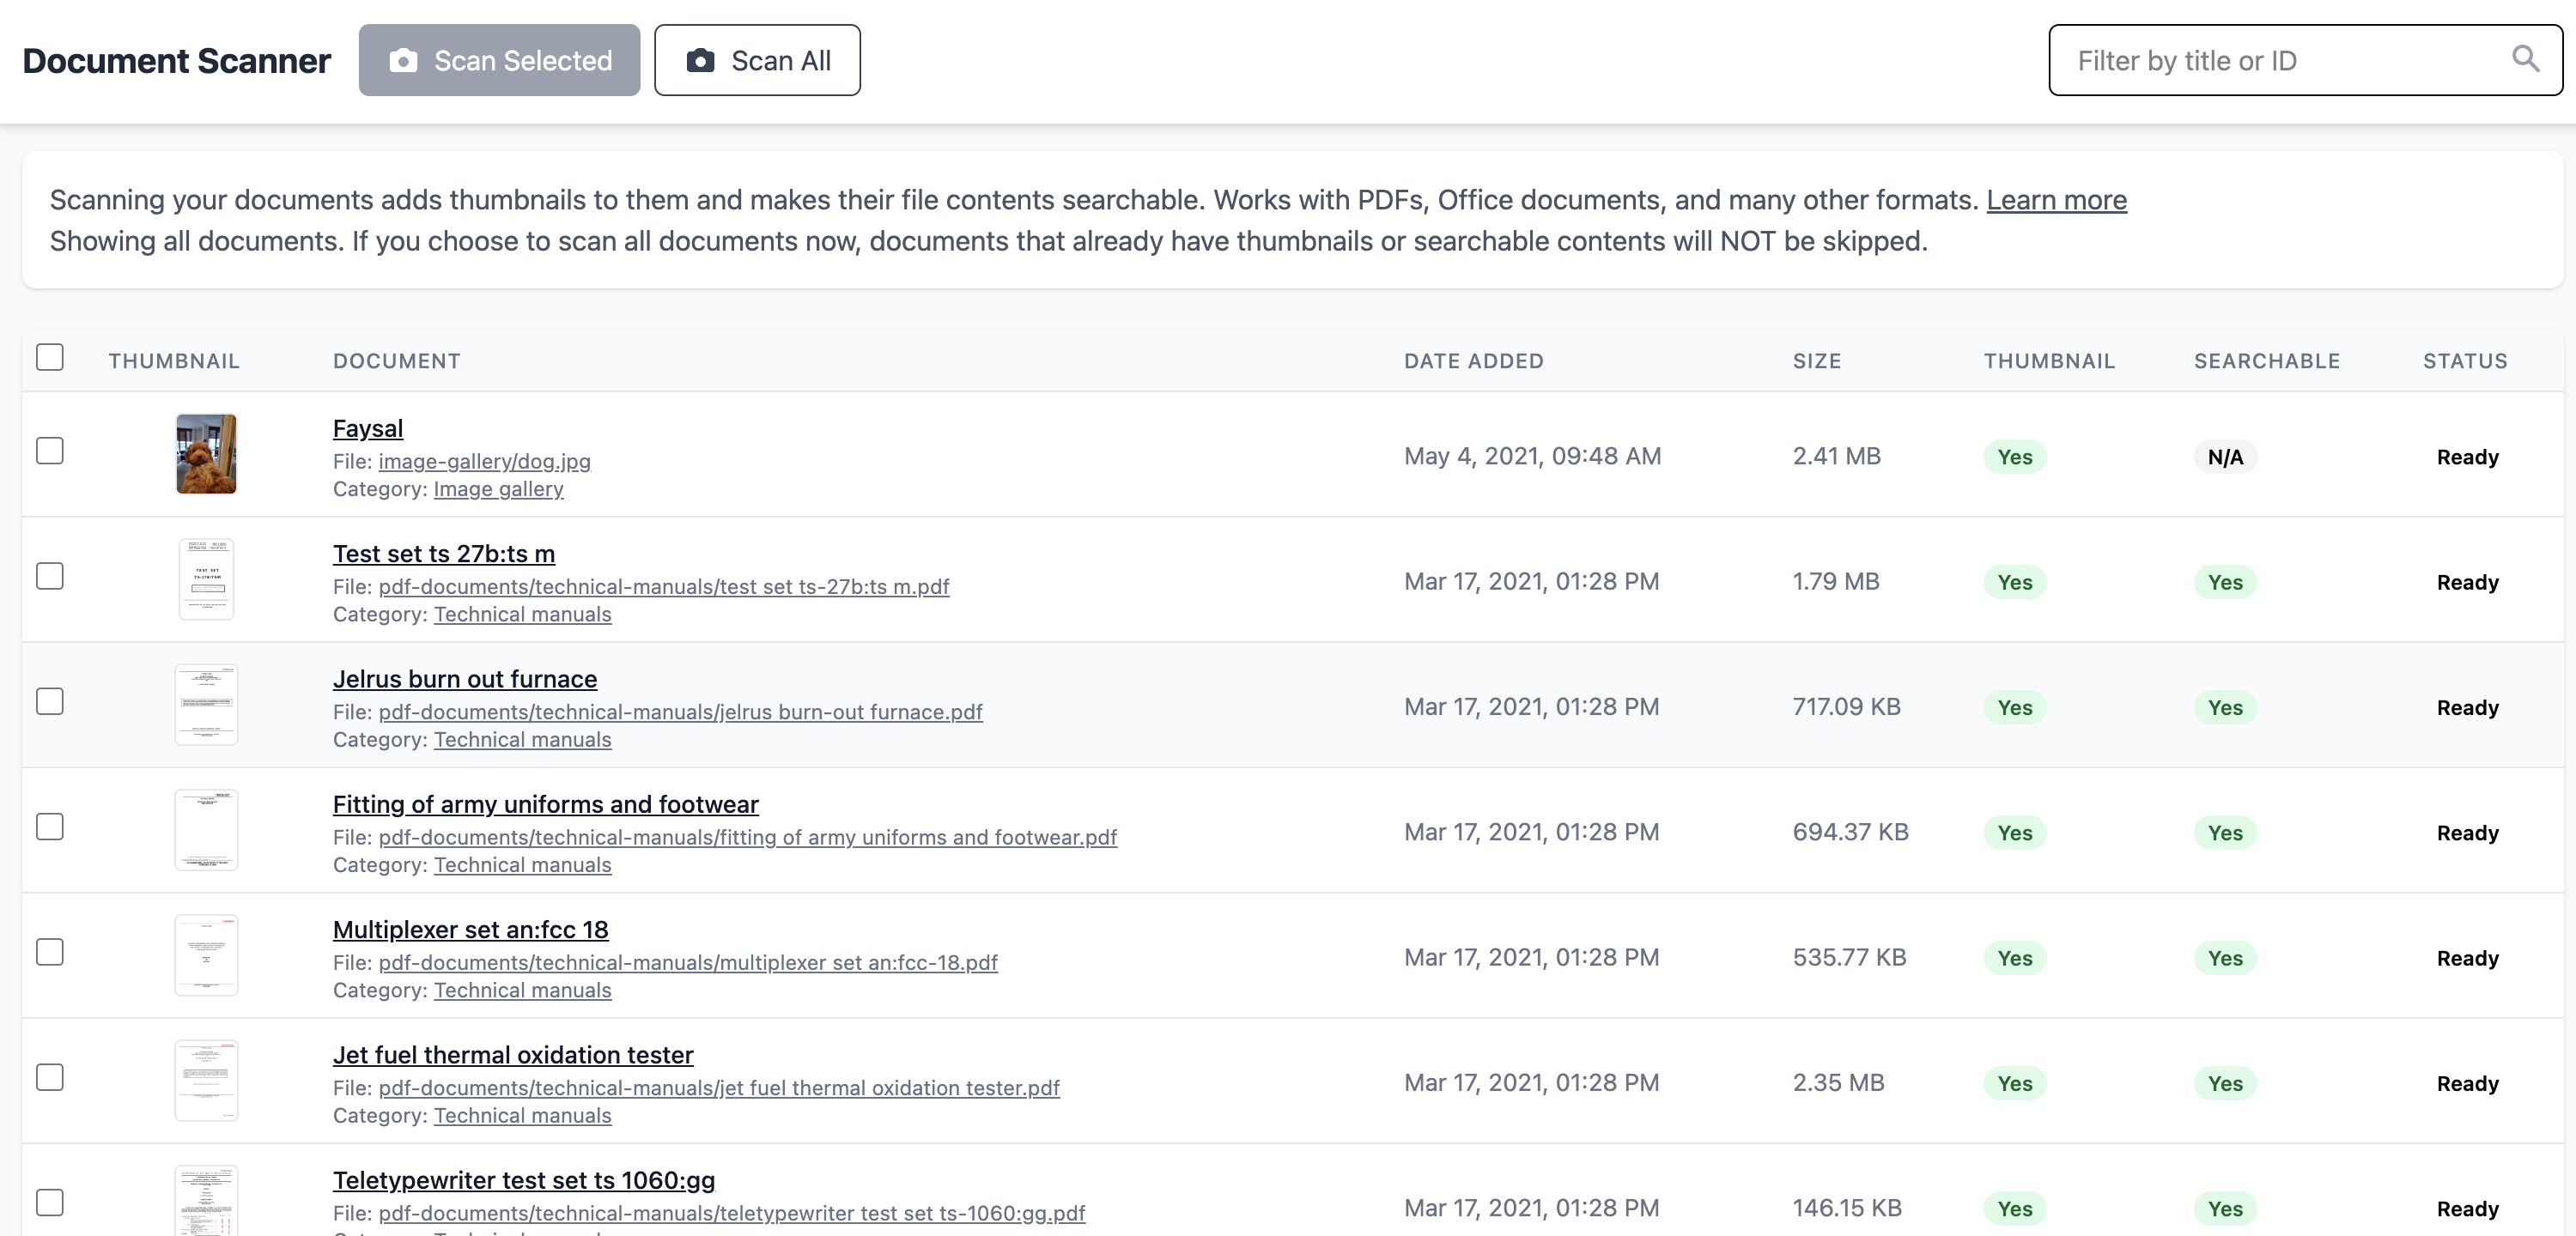
2. Batch generate thumbnails for multiple documents
If you have lots of existing documents that you would like to generate thumbnails for after installing Joomlatools Connect then you can trigger the batch scanning feature by:
- Log in to your site's Administrator interface
- Go to Components > DOCman
- Click Settings in the Sidebar
- Click Scan All Documents in bottom right
Installation
Please see: Getting started with Connect